A homesteader’s guide to seed saving
05/28/2020 / By Zoey Sky
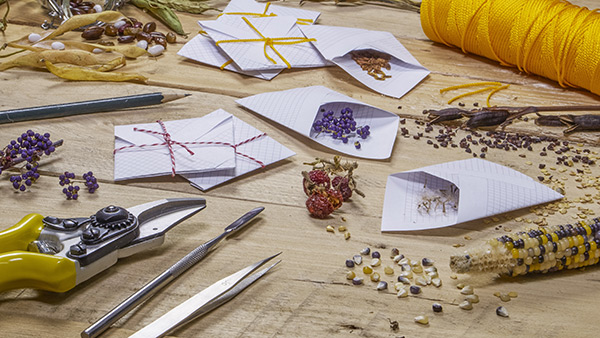
As a home gardener, it’s important to know how to save seeds so you don’t have to rely on buying seeds when SHTF. This also ensures that you always have enough seeds for the next planting season or for trading with fellow gardeners. (h/t to Attainable-Sustainable.net)
Seed saving techniques may vary depending on the type of crop. Some easy seeds to save are those from cruciferous vegetables, squash and tomatoes.
Letting vegetables go to seed
When you let plants go to seed, you let them complete their life cycle instead of harvesting before they have a chance to do so. Let one to two plants go to seed if you want to save some money on seeds and continue to have a steady supply of seeds to plant.
Plants like tomatoes and peppers have visible seeds inside the fruit. With these kinds of plants, you don’t need to let them “go to seed.”
Saving seeds from your garden
When saving seeds, heirloom seeds or open-pollinated seeds will “come true” from year to year. This means you’ll end up with a plant that has the same characteristics each planting season.
This isn’t the case for hybrid seeds, which may sprout but will lose some qualities in subsequent generations.
Vegetables like carrots or kale are grown for their roots or leaves. Instead of pulling the whole plant when harvesting, leave it in the ground and allow it to flower. With root crops and greens, flowers are often followed by pods.
Preventing cross-pollination
Some crops can be cross-pollinated by wind or pollinators like bees.
It won’t be obvious in your current crop, but the seeds that develop in a cross-pollinated plant may have unexpected features as you cultivate them the next year. To avoid cross-pollination of different varieties, plant crops at some distance, if you have room, or at different intervals so that they are blooming at different times.
Saving seeds from cruciferous vegetables
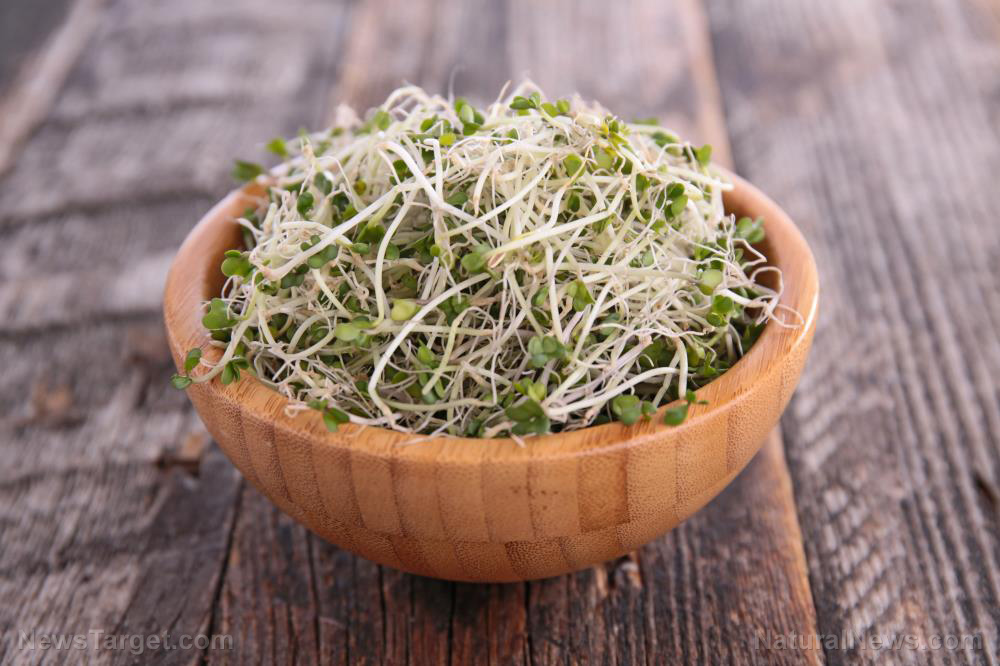
Cruciferous vegetables include broccoli, cabbage and cauliflower, all of which produce seeds in a similar manner.
When left in the ground to mature, cruciferous vegetables send up a flowering stalk. The flowers on this stalk will turn into a seed pod after several months. When left unattended, the seeds will drop and scatter. They will then pop up in your garden the next spring.
To save seeds for replanting, wait until the seed pods become fat and look like they’re about to dry out. Harvest individual pods or pull the plant then let the seed pods thoroughly dry on the plant.
When the pods are completely dry, break them open to harvest the next generation of seeds. Remove the seeds and store them in an airtight container until the next planting season. (Related: Guerrilla gardening tips: How to hide survival food in plain sight.)
Saving pumpkin seeds
Pumpkins and other winter squash like butternut and spaghetti squash are usually harvested at full maturity or when their color begins to change and the stems dry out.
After harvesting, set the pumpkins aside for 20 to 30 days before opening. You can save the seeds when cooking with pumpkins or squash.
Cut the squash then scoop out the seeds and pulp. Get a colander and rinse the pulp and seeds with cold water to remove the pulp. To remove the pulp easier, soak the seeds in a bowl of cold water for several hours.
Place the rinsed seeds on a kitchen towel. Once they’re dry, transfer them to a piece of newspaper.
Leave the seeds in a room with good airflow and away from direct sunlight. When the seeds are thoroughly dry, transfer them to an airtight container and store in a cool, dark place. Your seeds are ready if they snap in two when you bend them.
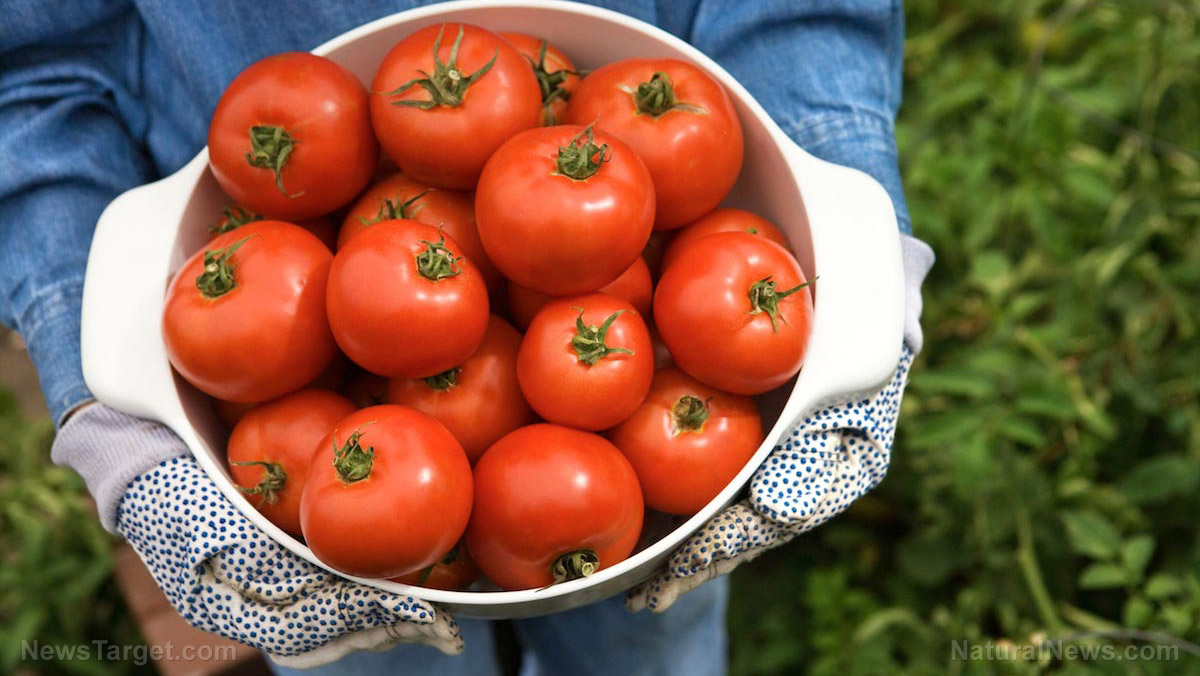
Saving tomato seeds
Tomatoes may self-sow during spring. When a fruit that has dropped on the ground begins to rot, the gel-like coating on the seeds will break down over the winter, allowing a plant to grow the next year.
Expedite this process by fermenting the seeds and pulp to make the gel coating easier to remove. Choose your favorite tomato variety, then cut a fully ripe fruit in half horizontally to expose the seeds. Squeeze the seeds and pulp into a jar and save the remaining tomato bits for cooking.
Set the uncovered jar aside for three to four days. The fermenting pulp will develop a bit of mold on top, which is normal.
The fermentation process will help separate the seeds and pulp. At this time, stir some water into the jar.
The mature, viable tomato seeds will sink. Pour off most of the liquid and pulpy matter, then strain the remaining seeds through a sieve. Rinse the seeds thoroughly under running water, then drain.
Spread the tomato seeds on a kitchen towel and let them dry. When they’re thoroughly dry, remove the seeds from the towel and transfer them to an airtight container. Store in a cool, dark place. Save cucumber seeds the same way.
Store seeds properly
After gathering and drying seeds from your garden, store them properly to keep them viable until the next planting season. Place seeds in recycled junk mail envelopes or keep them in a glass jar with a desiccant packet so they stay dry. Store saved seeds in a cool, dry place.
Label your seeds correctly: Include the name, variety and the date you collected them to keep track of which seeds you are planting in your home garden.
Sources include:
Tagged Under: crops, food supply, gardening tips, green living, harvest, heirloom seeds, home gardening, homesteading, how-to, off grid, Plants, preparedness, prepping, seeds, survival, survival food, sustainable living, vegetables, veggie
RECENT NEWS & ARTICLES
COPYRIGHT © 2017 VEGGIE NEWS


